Well... Let's start with a complete Mazda. All working, running, and actually quite fun to drive.

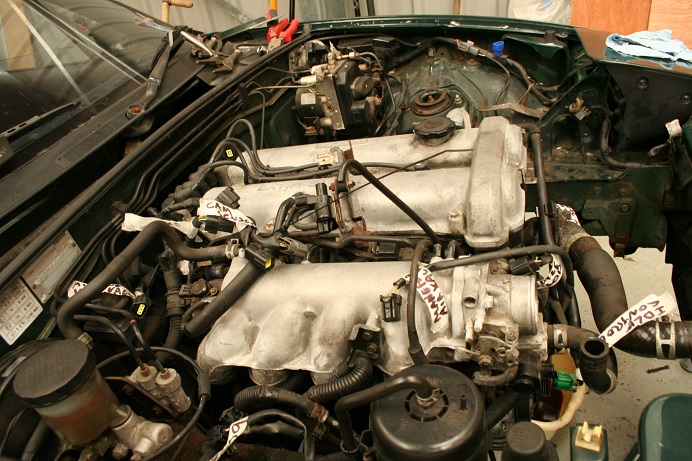
We started enthusiastically disconnecting the engine from it's electrical, fuel, air, and cooling ancillary components. Much of the various oils, fluids, and liquids carefully collected before it hit the floor, much of it not. My plan is to use as much of the existing MX-5 wiring loom as possible in the new car so I diligently attached pieces of masking tape with some vague reference of their function to all the electrical connections. Having read about other people trying to re-use looms in kit cars, this seems to be what they all 'wish they had done at the start'. I broke the clip on one connection which disappointed me, but if that's the worst that happens on this project, I'll take it.
All good so far. Now to lift the engine and gear box out as one unit. A few bolts holding the gearbox to the PPF (Power Plant Frame - a long metal beam running half the length of the car from the gearbox to the differential, right in the way of everything) put up a little resistance but gave way with a little persuasion. Unfortunately this PPF was so positioned as to not allow the gearbox to tilt sufficiently to enable removal with the engine. Seeing that splitting the engine and gearbox whilst under the car was a mission in itself, and would have to be done mostly by feel, the PPF had to come off.
And this is where it start to go wrong. With the 2 bolts attaching it to the gearbox removed, the only thing holding the PPF in the way was 2 bolts in to the differential casing. No kidding - one of these bolts took the two of us an hour and a half to get off. With the bolts out the thing still wouldn't come off the diff due to what looked like a stuck locating bush underneath, so we decided to take the whole differential itself off.
At this point I should say that it appears the rear of the car has suffered a little more with rust than the front. Quite a lot more in fact, and as such the differential was going nowhere. Of the 6 bolts holding it in place, 4 had so little shape to them that they had to be removed with Irwin sockets. Another 2 hours and half a can of WD40 later, the differential was detached, freeing the PPF, and we could move the gearbox. All that was now needed was to attach the engine hoist and lift out the engine and gearbox.

If things weren't already going according to plan, or at least timescale, the engine hoist had one more surprise for us. With the engine attached by its lifting points, a few pumps on the hoist's actuator handle revealed the final problem that was going to bring the day's activities to an end. Instead of the hydraulic ram neatly lifting the engine and transmission out of the engine bay, an O-ring in one of the cylinders failed and covered the floor in yet another automotive oil. Despite finding some more O-rings, almost the right size, it wasn't going to hold it's liquid, so we had to call it a day.
After an evening of analysis, planning, and mostly beer drinking, the next day saw the purchase of a shiny new engine hoist. This lifted the engine and gearbox out cleanly. I declare this project officially started.

Having not got anywhere near as far as I wanted to do on the first day of working on the project, I am obviously keen to get on taking the rest of the Mazda apart. Unfortunately due to work commitments, and having to do this part of the work some 200 miles from home, I now have a two week break before I can start work again, but I think I have a better idea of what to expect next time.
No comments:
Post a Comment